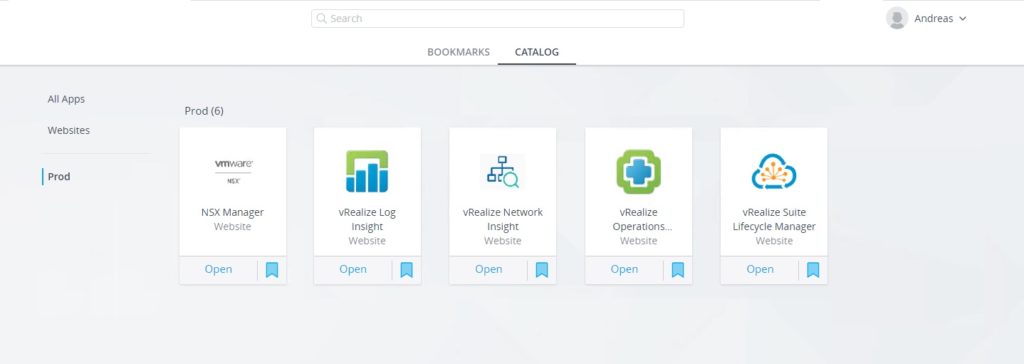
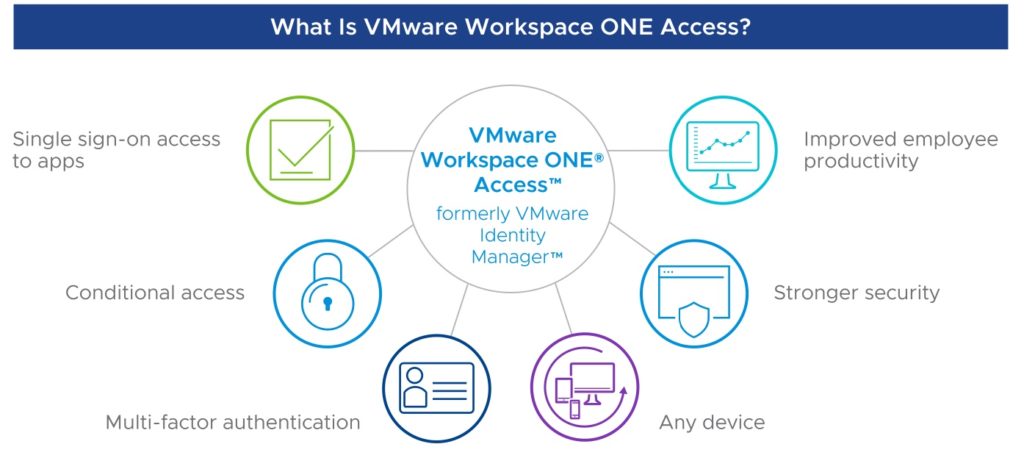
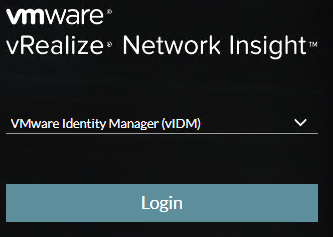
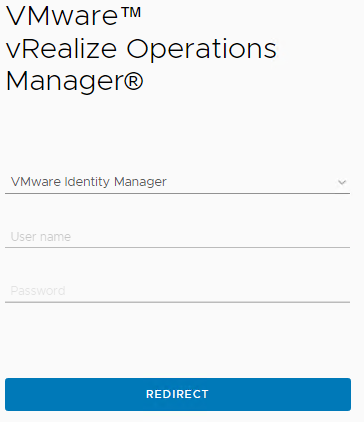
If you have vRealize Suite license it is a good chance that you have deployed a vRealize Suite Lifecycle Manager and the included Identity Manager appliance. If not you probably should! You will have a nice portal for all your vRealize URLs with SSO, but you do not have true SSO all the way from your windows client to your vRealize applications. Users still have to login to the portal each time they want to use it. Here is a quick write up on how to enable kerberos authentication to achieve true SSO.
Attention
If you have vIDM 3.3.3 and 3.3.4 this feature is not working with the embedded connector. please upgrade to 3.3.5 where it is working again.
In this blog I will walk you through how to setup true SSO, but first to some prerequisites.
Prerequisites
- vIDM Appliance deployed
- Active Directory
- A user that can join a machine to the domain
- Directories configured in vIDM or through vRSLCM.
- Make sure AD users or groups have been given access and login is already working.
If you haven’t configured directories, take a look at this post for a walkthrough.
How to setup true-SSO in VMware Identity Manager
If all prerequisite are met we can start the setup. But before we can configure the adapter we need to join the appliance to the domain. Login to your Identity Manager with admin user and go to Identity & Access Management and then Setup

Under Available Actions click Join Domain and Insert username and password to join the domain. You can leave Organizational unit (OU) of domain to join blank or
If you want the machine placed directly in the correct OU, just add the details for your environment. Example: OU=Computers,OU=LAB,DC=lab,DC=vedaa,DC=net
When that is done we can continue and enable KerberosIdpAdapter
Make sure you still are at Identity & Access Management and Setup as before.
Under Worker click on your appliance FQDN and then Auth Adapters

Now click on KerberosIdpAdapter check the box Enable Windows Authentication and click Save. Close the current browser tab.

Go back to Identity & Access Management but this time stay on Manage and click on Policies. Select the default_access_policy_set and click edit

Click next og 2 Configuration and then click on All Ranges (Device Type Web Browser)
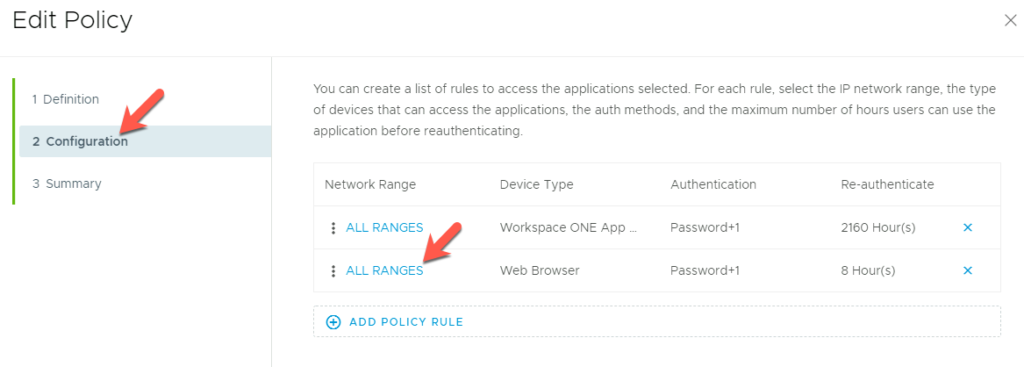
Edit the policy by first clicking ADD FALLBACK METHOD. Then change the order of the logins as shown below. First Kerberos then Password and last Password (Local Directory) then click Save, and then Next and Save.
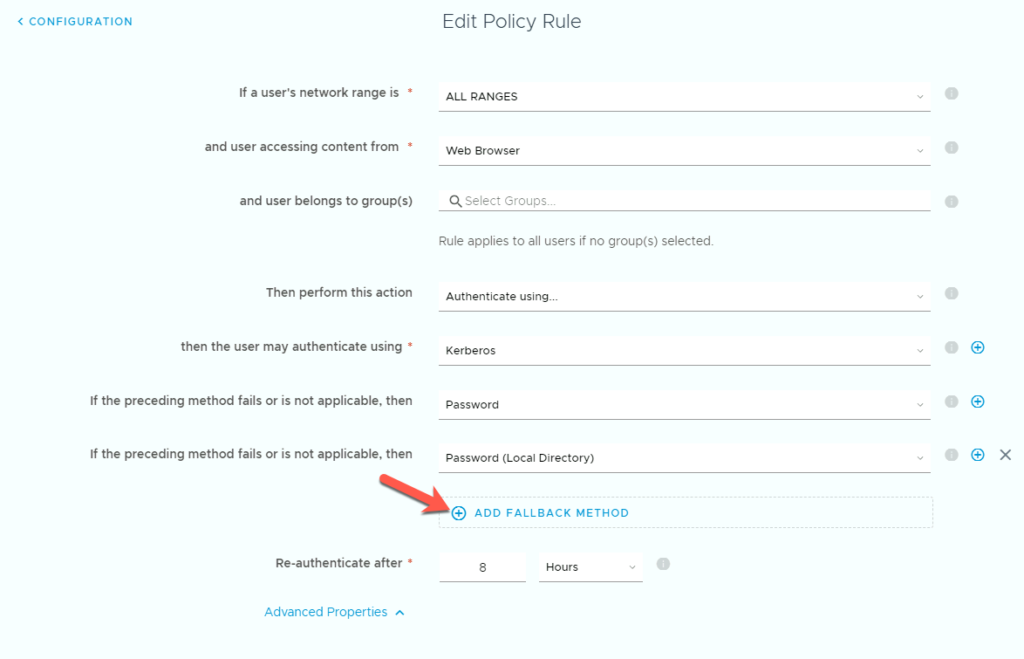
True SSO should now be working form the VMware side of things. If it is not working take a look at thees additional steps.
Additional settings
Here is some additional steps you might need to perform if it is not working. First make sure that vIDM URL is part of local intranet zone. If it is not add it by following thees steps.
In Windows search for Internet Options
In Internet Options, click the Security tab.
On the Security page, select Local intranet.
Click Sites and add your vIDM URL to the list of websites.
It it is still not working verify that Integrated Windows Authentication is enabled.
In the Internet Options window, click the Advanced tab. In the Settings list, under Security, select Enable Integrated Windows Authentication.


